Pet-Project-web-아이피-로그인 기능
개요
게시글에 아이피를 추가하고 관련 기능을 추가함
기능
아이피 관련
아이피를 추가하는 것은 다음 이유가 있다.
- 추천, 비추천 기능에 있어서 중복을 막기 위함
- 비로그인 유저,로그인 유저를 구분하기 위함
user(ip) <- 비로그인 유저
user <- 로그인 유저
로그인한 유저의 경우에는 로그인 정보로 구분을 하는데 비로그인 유저의 글은 ip로 구분하는 것은 또 아니다.
밖에서 글을 작성하고 집에와서 글을 수정하거나 삭제하는 것이 가능해야 한다고 생각했기 때문이다.
로그인 관련
- 로그인 기능을 추가함으로써 변경되는 사항들
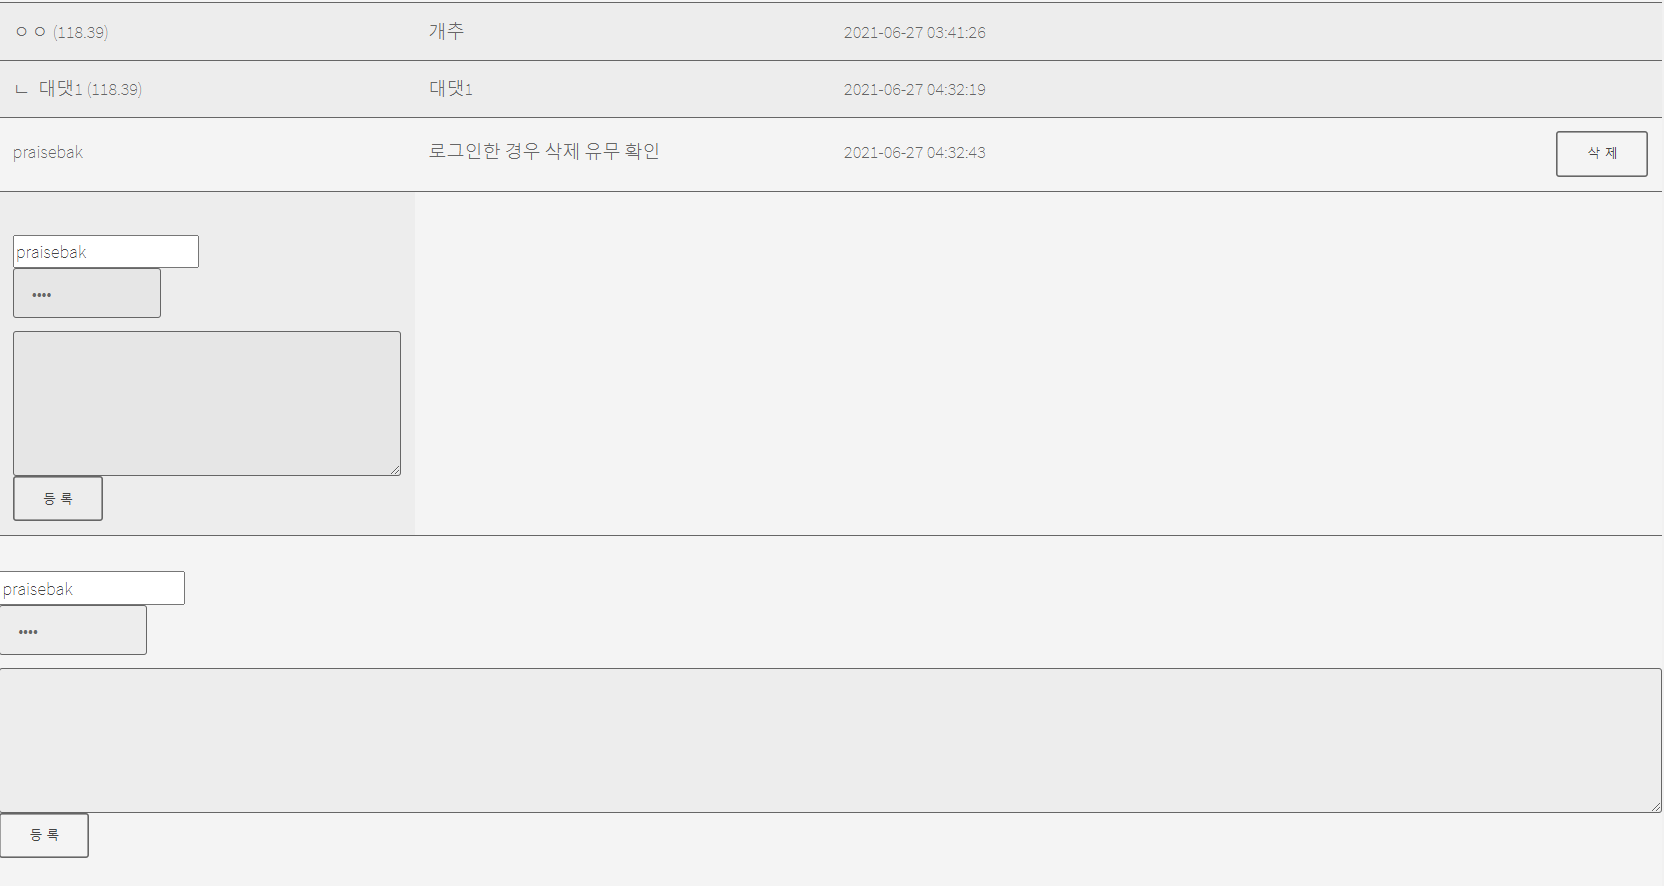
- 댓글 작성 로그인 유무에 따라 삭제
- 대댓글 작성 로그인 유무에 따라 삭제
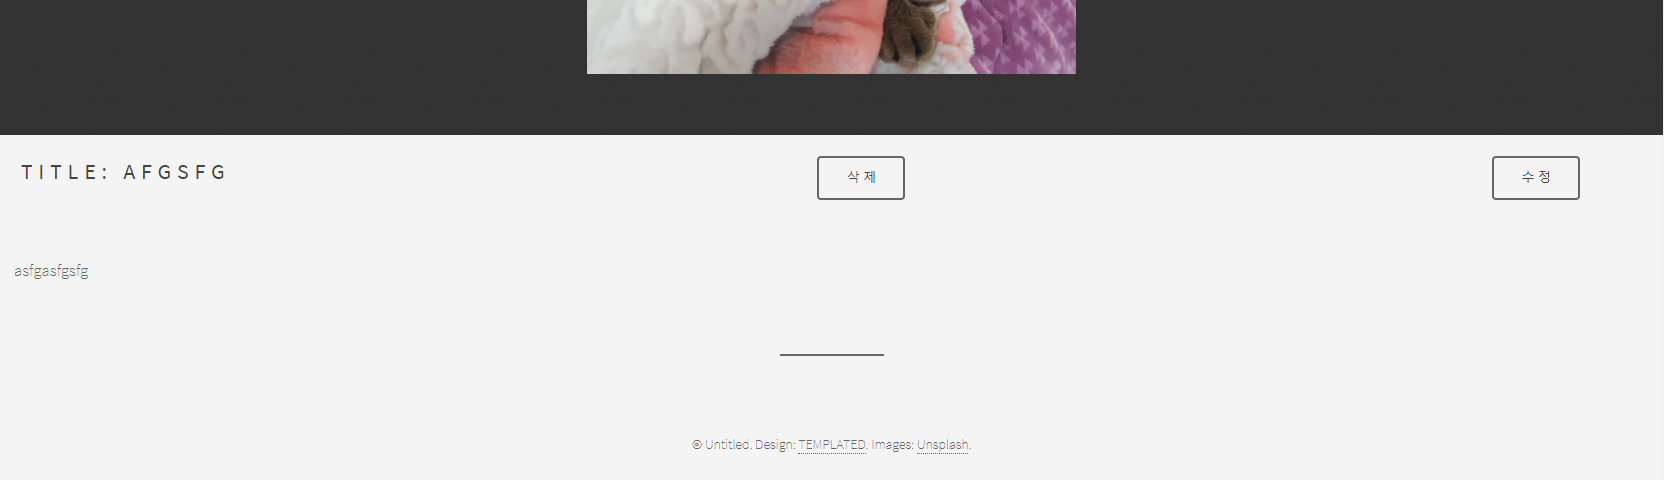
- 글쓰기 로그인 유무에 따라 수정, 삭제
- 댓글 작성 로그인 유무에 따라 삭제
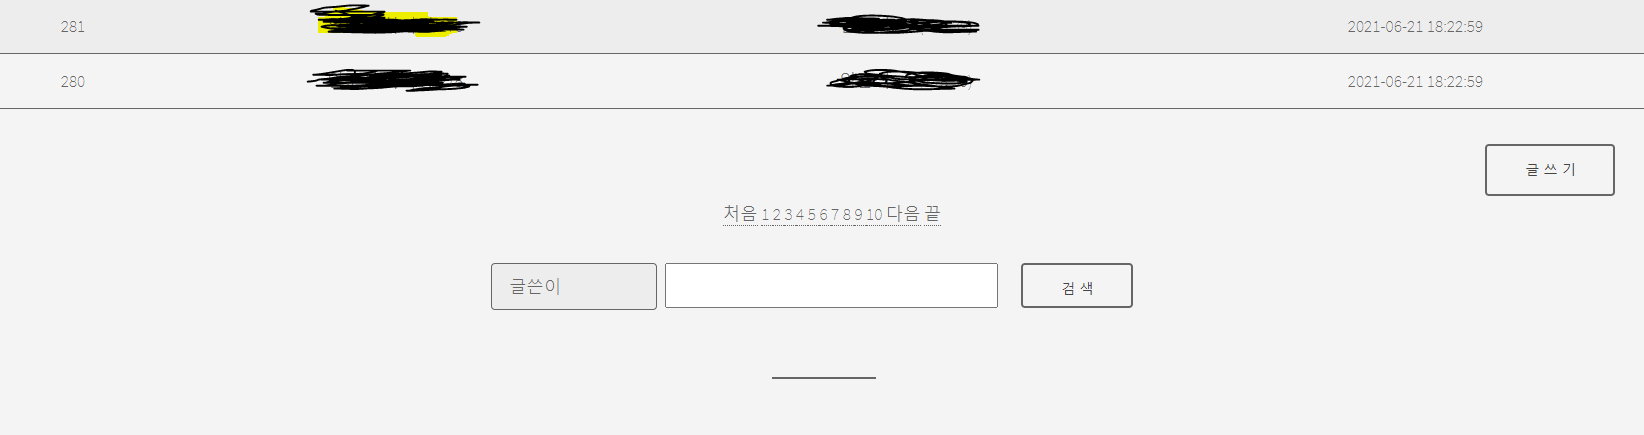
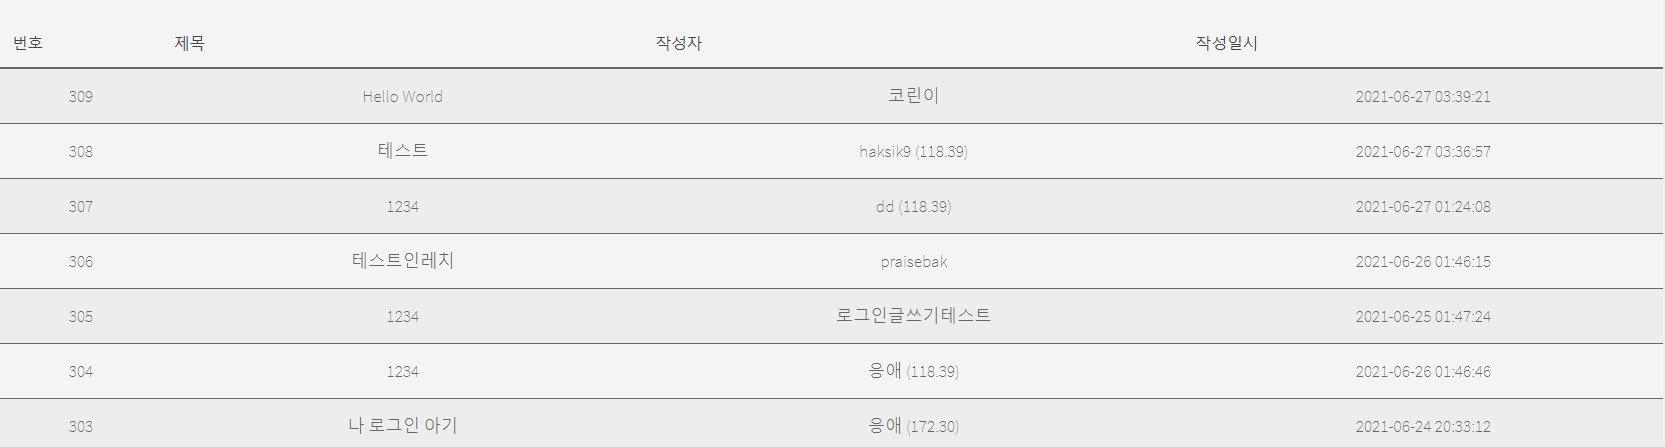
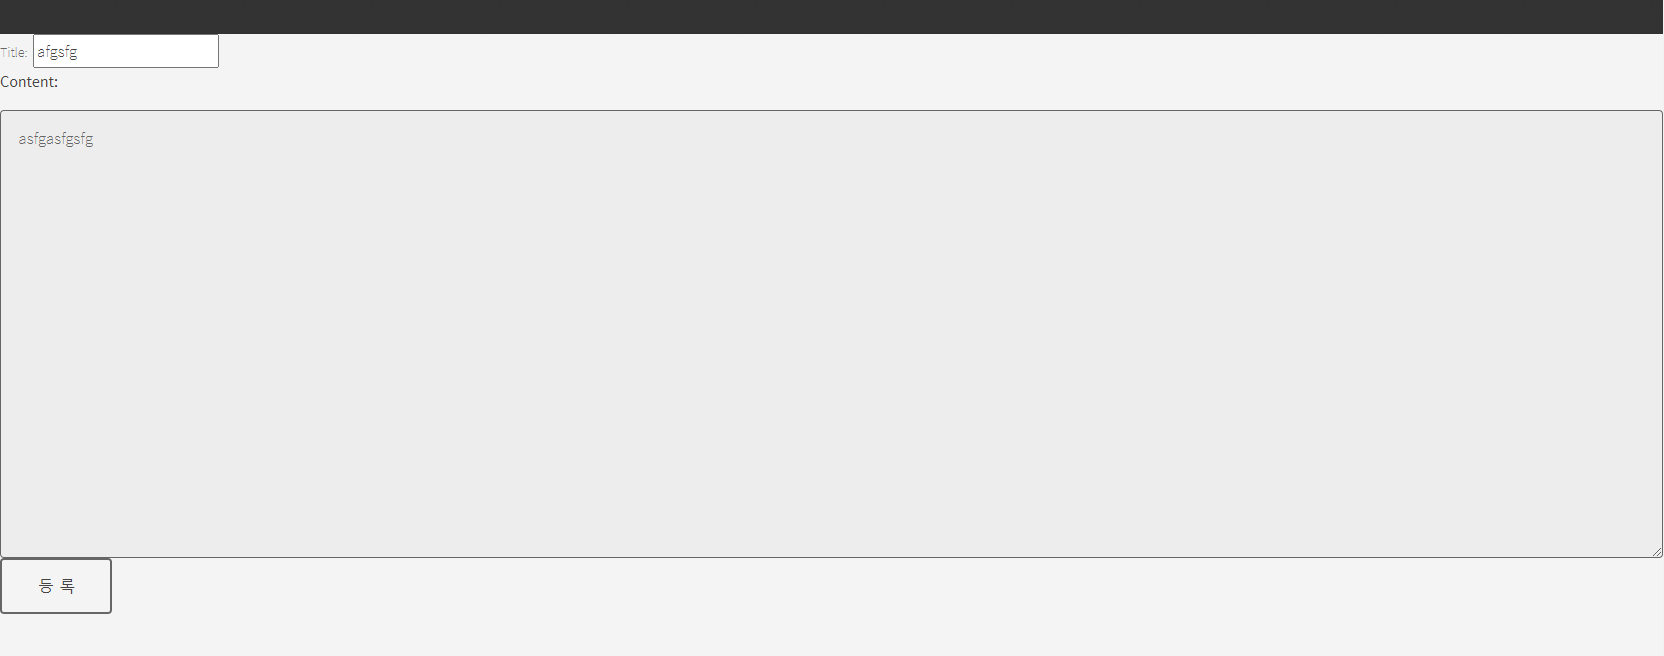
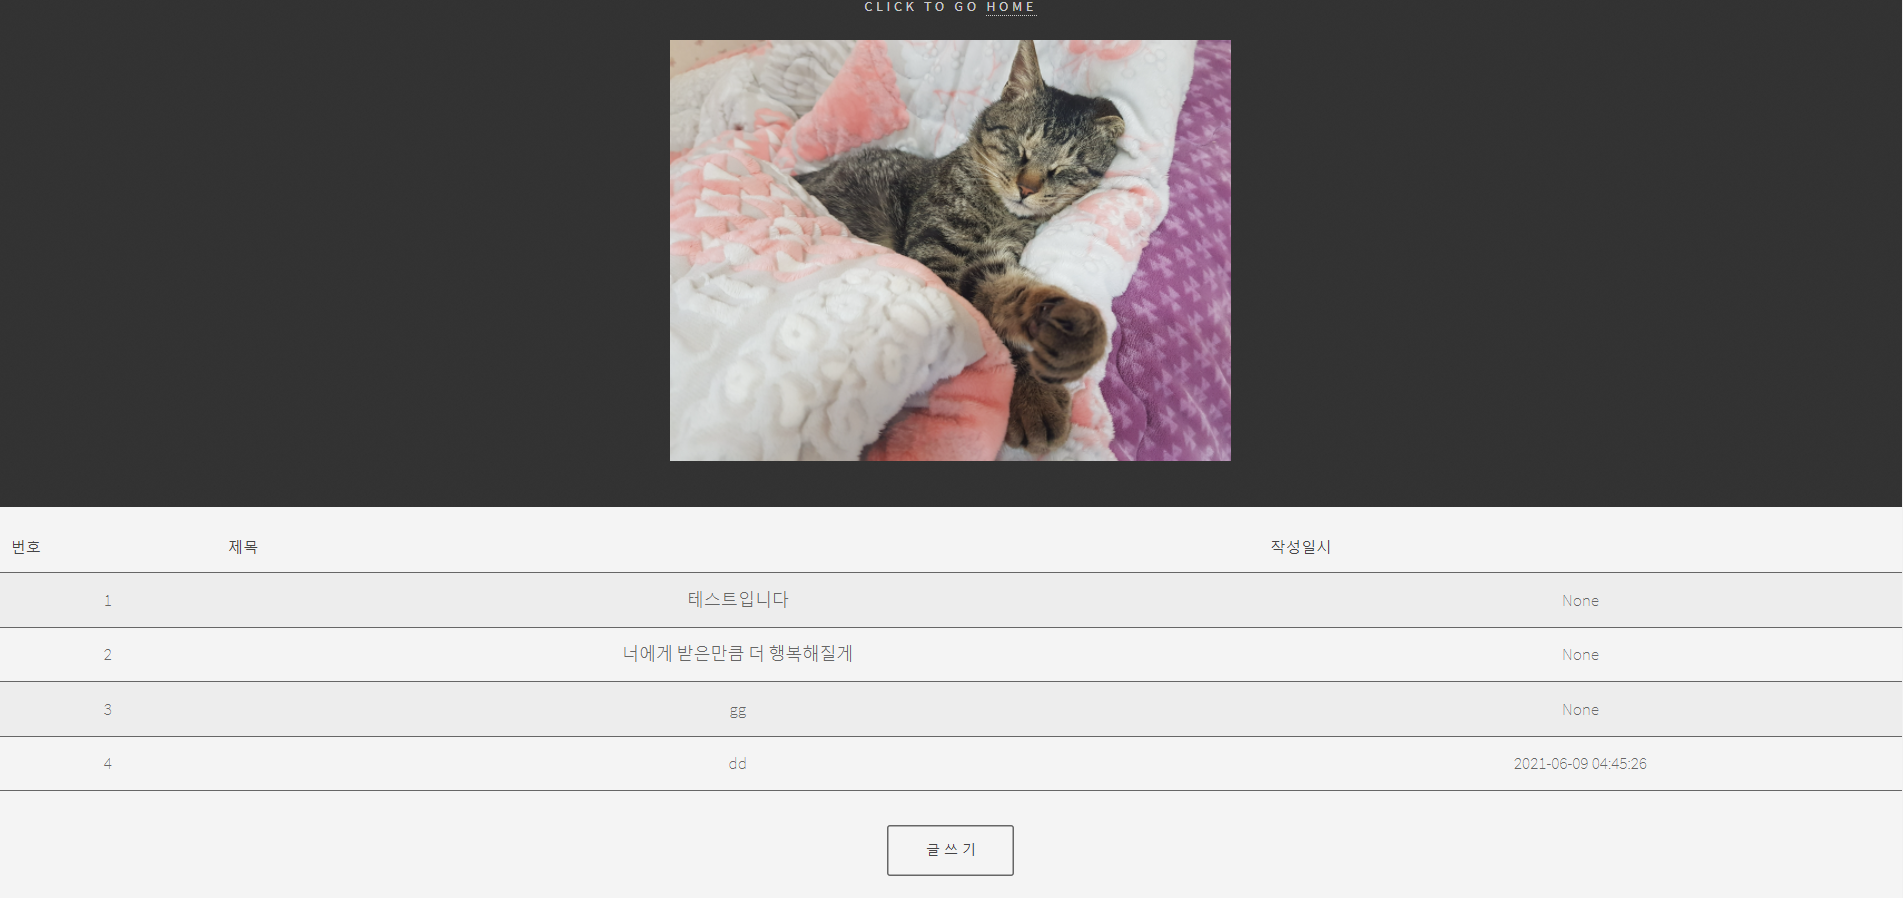
예시 그림

[비로그인 유저인 경우 ip를 출력하는 모습]

[로그인 유무에 따라 ip가 출력되고 안출력되는 모습]
코드
ip 관련
사용자의 ip 가져오기
1
2
3
4
5
def get_covered_ip():
ip = socket.gethostbyname(socket.gethostname())
front_ip = ip.split('.')[0]
back_ip = ip.split('.')[1]
return front_ip + '.' + back_ip위 코드를 실행하면 ip에 123.456.789.876~ 같은 형식으로 ip가 출력된다.
실제로 보여주는 ip 형식은 123.456 형식을 원하기 때문에 split(‘.’)을 이용하여 일부를 제거했다.
로그인 관련
로그인 구현
1
2
3
4
5
6
7
8
9
10
11
12
13
14
15
16
17
18
19
20
21
22
23
24
25
26
27
28
29
30
31
32
def login(before_page=None):
form = UserLoginForm()
if request.method == 'POST' and form.validate_on_submit():
error = None
db = Database()
user = db.executeAll("SELECT id,password FROM user WHERE id = '%s'" % (form.username.data))
if len(user) == 0:
user = 0
else:
password = user[0]['password']
user = user[0]['id']
if user == 0:
error = "존재하지 않는 사용자입니다"
elif not password == form.password.data:
error = "비밀번호가 올바르지 않습니다."
if error is None:
session.clear()
session['user_id'] = user
print("이전 페이지:",before_page)
if before_page == 'checklist':
return redirect(url_for(before_page+'.checklist'))
elif before_page != None:
return redirect(url_for(before_page+'.list'))
return redirect(url_for('main.index'))
flash(error)
return render_template('/main/login.html',form=form)우선 login 페이지(html)에서 post 형태로 통신이 들어오면, 입력된 form이 login form 규격에 맞는지 체크한다.
맞다면 데이터베이스에서 로그인 정보를 가져온다.
실제로 로그인 정보가 일치하면 세션에 로그인 정보를 갱신하게 된다.
로그인 유무 확인
1
2
3
4
5
6
7
8
9
10
11
12
@login_bp.before_app_request
def load_logged_in_user():
user_id = session.get('user_id')
if user_id is None:
g.user = None
g.idx = None
else:
db = Database()
g.user = db.executeOne("SELECT id,idx FROM user WHERE id = '%s' " % (user_id))
g.idx = g.user['idx']
g.user = g.user['id']위 코드에서 before_app_request는 이름 그대로 어떤 request를 하기 전에 항상 거치는
메소드를 명시하는 것이다.
앞서 본 코드에서 로그인을 하게되면 session에 값이 갱신되고 로그인 한 후에는
항상 load_logged_in_uer() 메소드를 거쳐 g(플라스크의 전역변수 정도로 이해)의 전역변수를 지정해주는 식으로
로그인을 구분짓을 수 있다.
- 장고 템플릿에서의 예
1
2
3
4
5
6
7
8
9
10
11
12
13
14
15
16
17
18
{% if g.user %}
Hello {{g.user}}<br>
<ul class="login">
<li><a href="/logout" style="margin-bottom:10px;" class="button big">Logout</a></li>
</ul>
{% else %}
<div class="btns">
<div class="loginArea">
<li>
{% if request.path != "/login" %}
<a href="/login" class="button big" style="margin-right:10px;">
<span style = " color:white;">
Login
</span>
</a>
{% endif %}
중요한것은
{{g.user}}로 로그인을 구분지어 이에따라 보여지는 html을 수정할 수 있다는 점이다.위는 다음과 같이 출력된다.

백엔드 상 예제
1
2
3
4
5
6
7
if loginUser == 1 and (username==session.get('user_id')):
content_title = data[0]['board_content_title']
content_text = data[0]['board_content']
username = data[0]['write_user_name']
password = "****"
...이하 생략
위 코드는 수정버튼을 눌렀을 때를 생각해보면로그인한 유저 = 게시글을 작성하는 유저를 확인하는 부분이다
조건문의 username은 앞서 데이터베이스에서 해당 게시글을 작성한 유저를 의미하고
session.get(‘user_id’)를 통해 현재 로그인한 유저와 비교한다.
참고로 loginUser는 게시글을 작성한 유저의 로그인 유무를 의미하는 변수이다.
이로써 게시판에 로그인,ip 기능을 적용했다.
아무래도 플라스크를 이용하여 웹 페이지를 구현하면
html이라던가 form이라던가 세부적인 사항도 많이 남아 있지만
전체 코드를 담기에는 의미없는 반복, 세부사항이 너무 많아 생략한다는 점 양해 바란다.